Kali Linux running on a Raspberry Pi 4 Model B.
Adrian Kingsley-Hughes/ZDNET
While the default operating system for the Raspberry Pi is the Raspberry Pi OS, the device is capable of running a variety of different operating systems. In fact, that tiny single-board computer (SBC) can run a range of Linux distributions.
I’m going to show you how to install three different Linux distributions — Ubuntu, Kali, and Parrot OS — on your Raspberry Pi.
Also: The Raspberry Pi 5 cracks passwords twice as fast as my Pi 4, but there’s one issue
We’re going to use the Raspberry Pi Imager software on a separate computer to copy the operating system onto a microSD card, then use that card to install the software on a Raspberry Pi.
As a Raspberry Pi user, you’re probably already familiar with this Imager. If you want a refresher on how to install and use the software, you can check out this primer on how to set up a Raspberry Pi.
How to install Ubuntu
Ubuntu is the most popular version of Linux of the desktop, and with good reason, as it’s a very mature, solid, and reliable operating system. There’s also no reason why you can’t install it on your Raspberry Pi.
What you’ll need: You’ll need a microSD card, the Raspberry Pi Imager software installed on a separate computer (not your Raspberry Pi) with an SD card-reader slot or external SD card reader, and a Raspberry Pi, which can be pretty much any model, all the way up to Raspberry Pi 5.
Ready? Let’s go.
The first operating system we’re going to install is Ubuntu. This OS is easy to install because it’s one of the options in Raspberry Pi Imager.
Also: How to cool your Raspberry Pi (and should you?)
To find the OS, run Raspberry Pi Imager on your main computer, click on Choose OS, and scroll down to Other general-purpose OS, and in there you’ll find Ubuntu Desktop.
Click on this selection and you’ll see several options. I’m going to choose the 64-bit version.
Finding Ubuntu in Raspberry Pi Imager.
Screenshot by Adrian Kingsley-Hughes/ZDNET
From here, the process is the same as for putting Raspberry Pi OS on the microSD card. With the microSD card in your main computer, choose your microSD card to write to, and click Write.
Now, the process follows the same steps as any other installation. You choose your microSD card to write to, click Write, and then wait.
The Raspberry Pi will boot up and you’ll be guided through the final steps of installing Ubuntu on the Raspberry Pi.
Ubuntu booting up on a Raspberry Pi.
Screenshot by Adrian Kingsley-Hughes/ZDNET
How to install Kali Linux
This is quite a specific version of Linux, maintained by Offensive Security, and is aimed at people who are interested in carrying out digital forensics and penetration testing.
1. Run Raspberry Pi Imager and select an OS
This operating system is also easy to install because it’s an option in Raspberry Pi Imager, as long as you know how to find it.
To find it, run Raspberry Pi Imager on your main computer, click on Choose OS, and scroll down to Other specific-purpose OS, and in there you’ll find Kali Linux.
Finding Kali Linux in Raspberry Pi Imager.
Screenshot by Adrian Kingsley-Hughes/ZDNET
Click on this selection and you’ll see several options. I’m going to choose the 64-bit version.
Different versions of Kali Linux are on offer.
Screenshot by Adrian Kingsley-Hughes/ZDNET
2. Write to the microSD card
From here, the process is the same as for putting Raspberry Pi OS on the microSD card. With the microSD card in your main computer, choose your microSD card to write to, and click Write.
3. Move the microSD card to the Raspberry Pi and boot up
When Raspberry Pi Imager is finished, take the card out of the card reader on your computer, and pop it into the Raspberry Pi. Plug the Pi into power, and boot the system up.
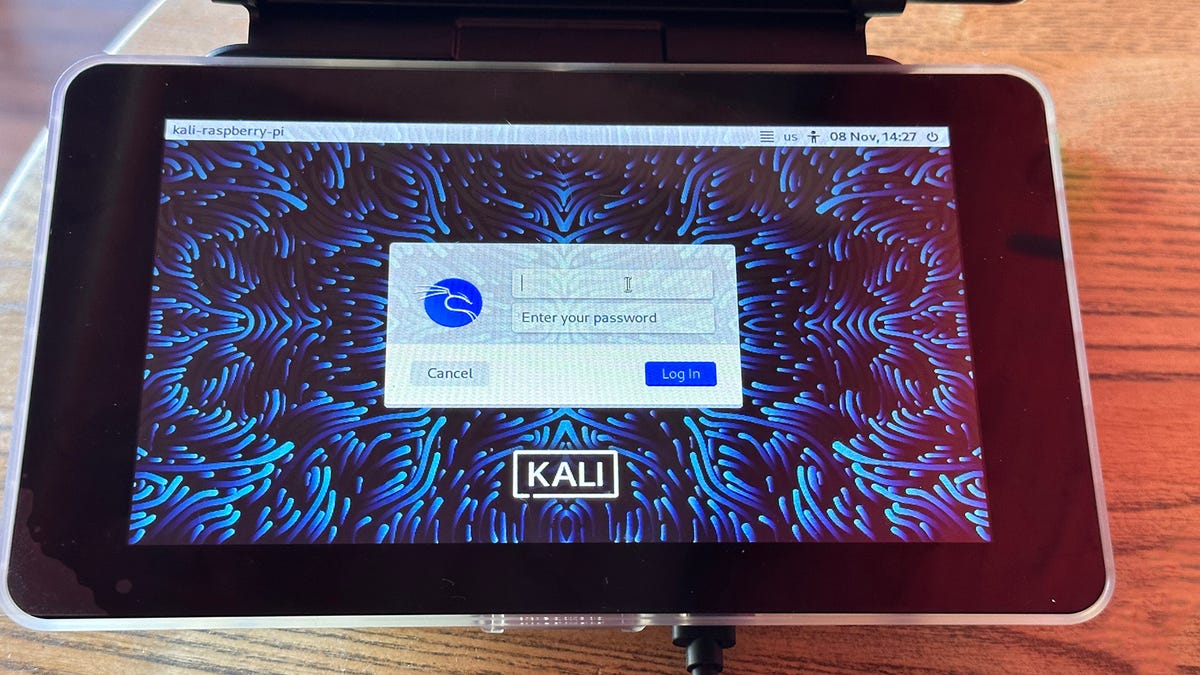
Kali Linux booting up on a Raspberry Pi.
Adrian Kingsley-Hughes/ZDNET
How to install Parrot OS
For this operating system, we’re going to use Raspberry Pi Imager once again, but Parrot OS isn’t included in the list of alternative operating systems, so you’ll have to download it from the ParrotSec website. You’ll find all sorts of different flavors of Parrot OS on the website, and among them are versions for the Raspberry Pi.
Here, I’ll be using the 64-bit Security Edition version for the Raspberry Pi.
1. Download Parrot OS
Download the operating system onto your computer. Because it’s compressed, you’ll need an unzip tool to expand it (if you don’t have one, here are options for Windows and Mac).
2. Run Raspberry Pi Imager and select the OS
Run Raspberry Pi Imager, click on Choose OS, and scroll down to Use custom. Find the Parrot OS distro that you downloaded and select it.
Using Raspberry Pi Imager to put a custom operating system on a microSD card.
Screenshot by Adrian Kingsley-Hughes/ZDNET
Once you’ve found the downloaded OS, click Write to put it on the microSD card.
3. Move the microSD card to the Raspberry Pi and boot up
Now, the process is the same as with any other installation. You choose your microSD card to write to, click Write, and then wait.
Parrot OS booting up on a Raspberry Pi.
Adrian Kingsley-Hughes/ZDNET
FAQs
Is it safe to install Linux on a Raspberry Pi?
Yes. While you might have to play around to get things working properly, the worst that can happen is that your Raspberry Pi won’t boot, in which case remove the microSD card and boot using a different operating system.
Also: Where to buy the latest Raspberry Pi model and alternatives
Why install different Linux distros on your Raspberry Pi?
Because different distros have different capabilities. Some, such as the final two featured above, are focused on security and penetration testing. This multi-pronged approach also allows existing Linux users to use a distro that they are already familiar with.
Does installing Linux void your Raspberry Pi’s warranty?
No. All this effort is supported by the official Raspberry Pi Imager software.