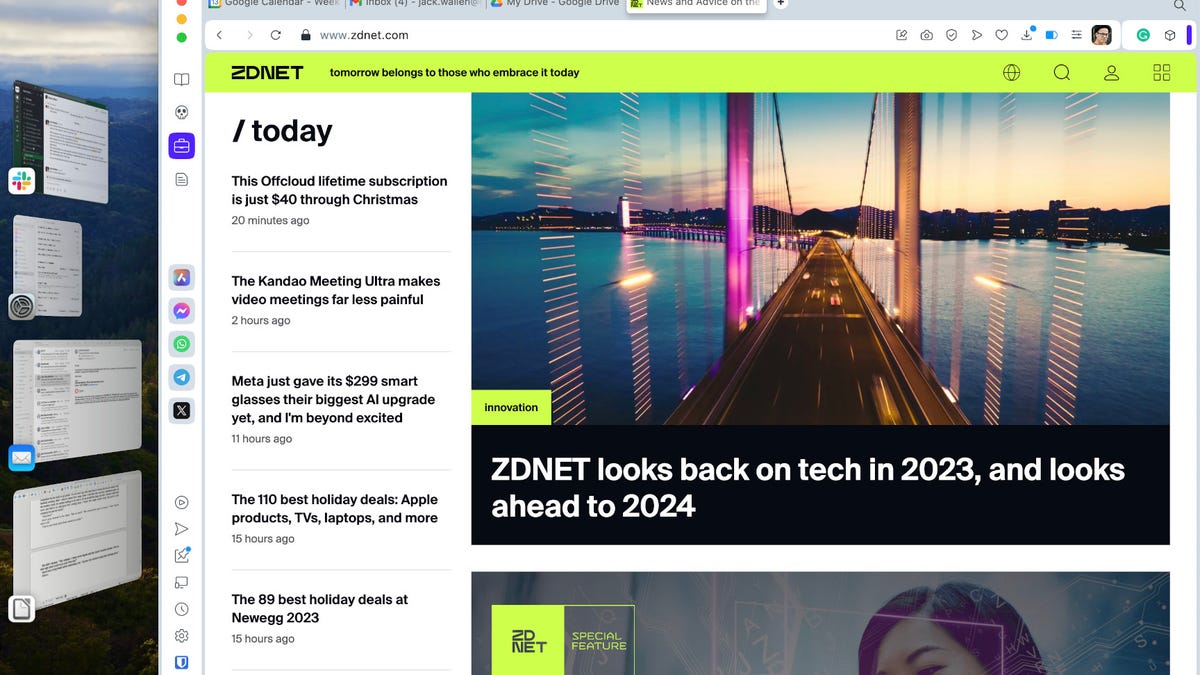
MacOS Stage Manager is a great UI for multitasking.
Jack Wallen/ZDNET
Stage Manager is a great way of interacting with open apps on MacOS. Essentially, it creates thumbnails of your open apps on the left edge of your display. From those thumbnails, you can easily return to whatever app you want to use.
Also: MacBook Pro vs MacBook Air: How to decide which to buy
The only problem with this option is that the thumbnails take up precious screen real estate. That might not be an issue on a large monitor, but if you’re using a MacBook display, every inch of your screen is precious. This is especially true if you prefer working with apps maximized to take up the entire screen. For me, it usually depends on the app I’m using. For example, if I’m working on a document in LibreOffice or Pages, I prefer that the app take up the entire screen. With my email client, it’s not so important.
But when I have Stage Manager enabled (and I’m using the default settings), it can be a chore to get those windows to fill up the screen. And since I started using the Rectangle window snapping tool, I prefer all of my window resizing to be efficient. With the Stage Manager recent apps visible, even Rectangle can’t snap a window to full-screen mode.
Fortunately, there’s an easy way around this problem. Once you’ve taken the following steps, you can easily maximize all your app windows to take advantage of the full-screen space. The only caveat is that the thumbnails for open apps auto-hide, which means you have to hover your cursor over the left edge of your screen to call them out (so you can select a new app). If that extra step is acceptable to you, continue reading.
Disabling recent apps in Stage Manager
What you’ll need: The only thing you’ll need is a MacOS device running MacOS Ventura or later. Make sure your OS is as up-to-date as possible. I’ll demonstrate this on a MacBook Pro (M1), running MacOS Sonoma. As long as your version of MacOS supports Stage Manager, you should be good to go.
The first thing to do is open the System Settings app. You can do this by either clicking the Apple icon in the Menu Bar, from your Dock (if it’s pinned there) or from the Launchpad. I usually just go the Apple icon route because that’s what my brain is accustomed to.
The setting you need is found in the Desktop & Dock section of System Settings. Locate and click that section from the left navigation.
You’ll find the Stage Manager options in the Desktop & Dock section of System Settings.
Screenshot by Jack Wallen/ZDNET
Scroll down until you see the Desktop & Stage Manager section, where you’ll find an entry for Show recent apps in Stage Manager. By default, this is enabled. To disable it, click the On/Off slider until it’s in the Off position. Once you’ve done that, you can close the System Settings app.
Show recent apps is enabled by default.
Screenshot by Jack Wallen/ZDNET
The recent app thumbnails will now tuck themselves from sight, giving you access to the full screen. You can maximize windows now, and they will take up the entire display. When you want to access one of your open windows, hover your cursor over the left edge of your screen and the recent apps will appear, where you can select the one you need.
And that’s all there is to hiding the recent apps in Stage Manager. If you’re like me, you want as much screen available for the app you are using, and this is a great way to have the best of both worlds.